Free Practice Isometric Tiles For Godot
A downloadable asset pack
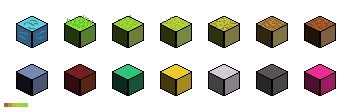
I made these tiles to practice isometric design in Aseprite, but I use them as placeholders when playing with isometric tilemaps in my own projects. I hope you can find some use for them too!
Here is the quick setup guide for using these isometric tiles in Godot (4.3):
Step 1. import the PNG into your projects Filesystem.
Step 2. Create a TileMapLayer node* and select it.
Step 3. In the properties inspector (panel on the right) you'll see a place to create a "Tile Set" resource that says <empty>. Click <empty> and select "New TileSet"
Step 4. Click the new "TileSet" you have created (where it used to say <empty>. Where it says "Tile Shape" adjust the dropdown to isometric.
Step 5. Where it says "Tile Layout" select Diamond Downward.
Step 6. Adjust the "Tile Size" to x=32, y=16
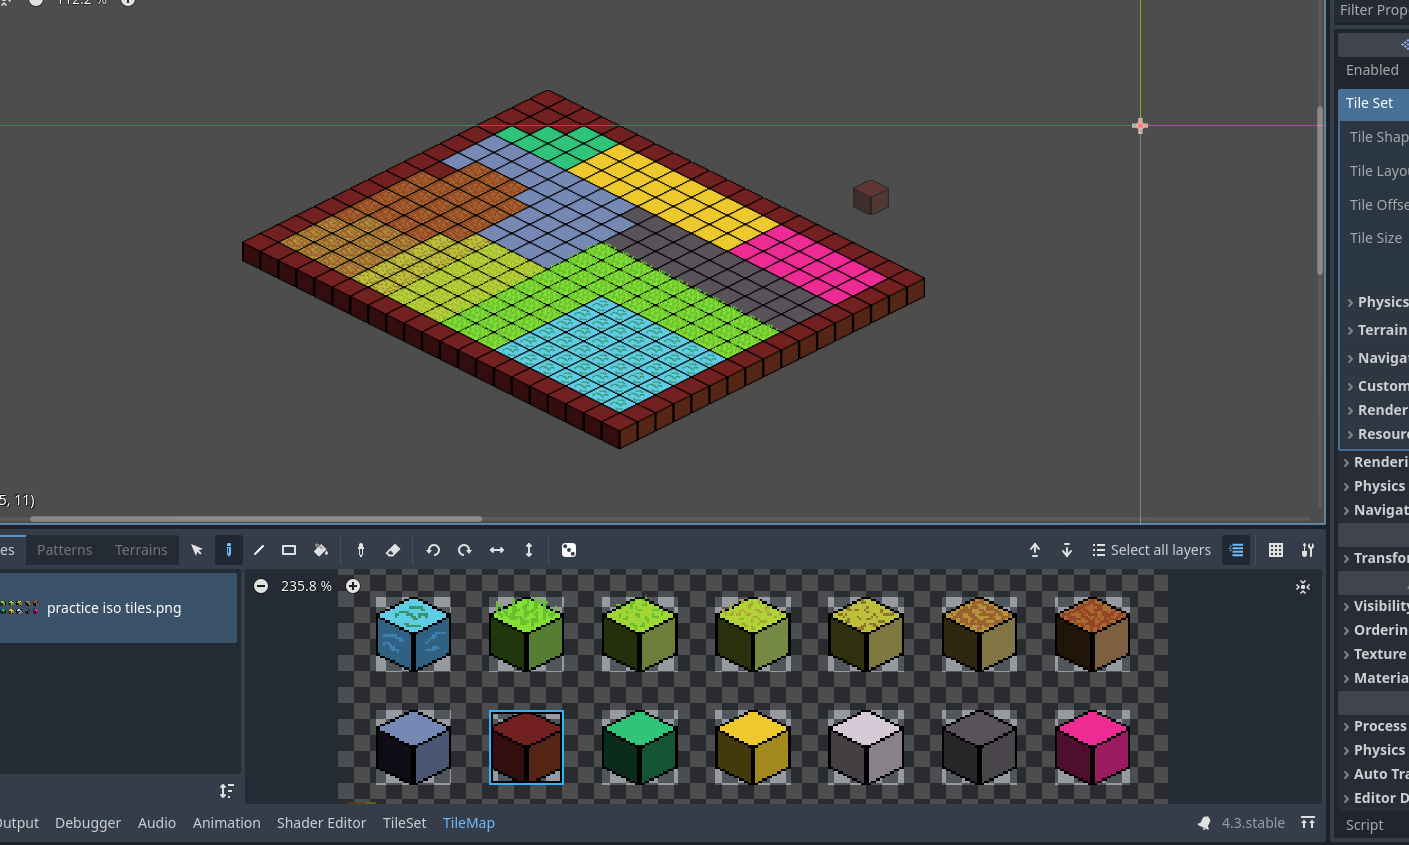
Step 7. At the bottom of your screen you'll see a TileMap panel. Select the "TileSet" tab along the bottom of that panel.
Step 8. On the left of the panel you should now see a gray box. Drag the PNG file you imported in step 1 from your filesystem into the gray box.
Step 9. Godot will ask if you want to automatically create tiles in the atlas. Click no,
(Optional:) I would recommend resizing the tileset panel to be taller before continuing. It will make the next steps easier.
Step 10. A number of properties are now visible in the middle section of this panel. Adjust the "Margin" setting to 16,16 (x = 16 & y = 16) the Separation setting should already be at 16,16, but if it is not then adjust it to (x=16, y=16).
Step 11. Set the "Texture Region" setting to 32,32 (x=32 & y=32)
Step 12. To create the actual tiles, you will now left click in the center of each tile in the inspector. It is possible to zoom out with the scroll wheel and to move around by holding the middle mouse button and moving your mouse. As you click each tile, a square box should appear around it and the colors should become brighter.
Step 13. Above all of the properties we adjusted in steps 10 and 11 (Margins, Separation, Texture Region) there are three buttons: Setup, Select, and Paint. Click on "Paint"
Step 14. There should be a dropdown box that reads "Paint Properties." Click that drop down and select the "Texture Origin" Property.
Step 15. Set the texture origin property to x=0 and y= -8. Then click each of the tiles to paint this property onto them. You should see the yellow diamond in the center of each tile snap to the top face of the tile.
Step 16. Under the Properties inspector for the TileMapLayer node created in step 2, right click the "TileSet" resource that we created in step 3 and edited in step 4. Select "save as..." then name and save the tileset as a resource. In the future, you can use this resource to avoid having to follow these steps again by dragging and dropping it into the <empty> resource slot of new TileMapLayers. This is especially important for multilayer TileMaps.
Step 17. On the panel that we have been using to edit the tileset, swap to "TileMap" by clicking the tab at the far right of the list of tabs on the bottom of the panel (Output, Debugger, Audio, Animation, Shader Editor, TileSet, TileMap) - if you chose to resize your bottom panel, return it to a smaller more manageable size.
Step 18. Left click a tile to select it, and then left click in the scene window above the place that tile down. Holding and dragging left click will create tiles wherever your mouse goes. Play around with this and make something interesting before proceeding to the next step.
Step 19. To give your isometric maps vertical depth, you need multiple TileMapLayer nodes. Create another TileMapLayer node with the same parent as your first TileMapLayer node. Take your saved TileSet reource made in step 17 and drag it into the <empty> resource slot of the new TileMapLayer node.
Step 20. Paint tiles on the new TileMapLayer node to see the vertical effect. You can repeat this with as many layer nodes as you want to create vertical depth!

*(the basic set up process is the same for deprecated TileMap nodes, but making multiple layers will be different. To follow this tutorial stick to TileMapLayer nodes.)
Congtratz! You know your way around a tilemap and have access to a free tileset now! Hope this helps someone out :)
Download
Click download now to get access to the following files:
Comments
Log in with itch.io to leave a comment.
this is so useful and thank you for the detailed instructions, it helped me a ton! works perfectly in 4.6 as well <3
this is awesome. It was oddly difficult to find any sort of isometric blocks that played nicely with godot. thank you for this!!
Very usefull. Thanks
Great step by step instructions, thank you for the help.
this was great for me, thank you!